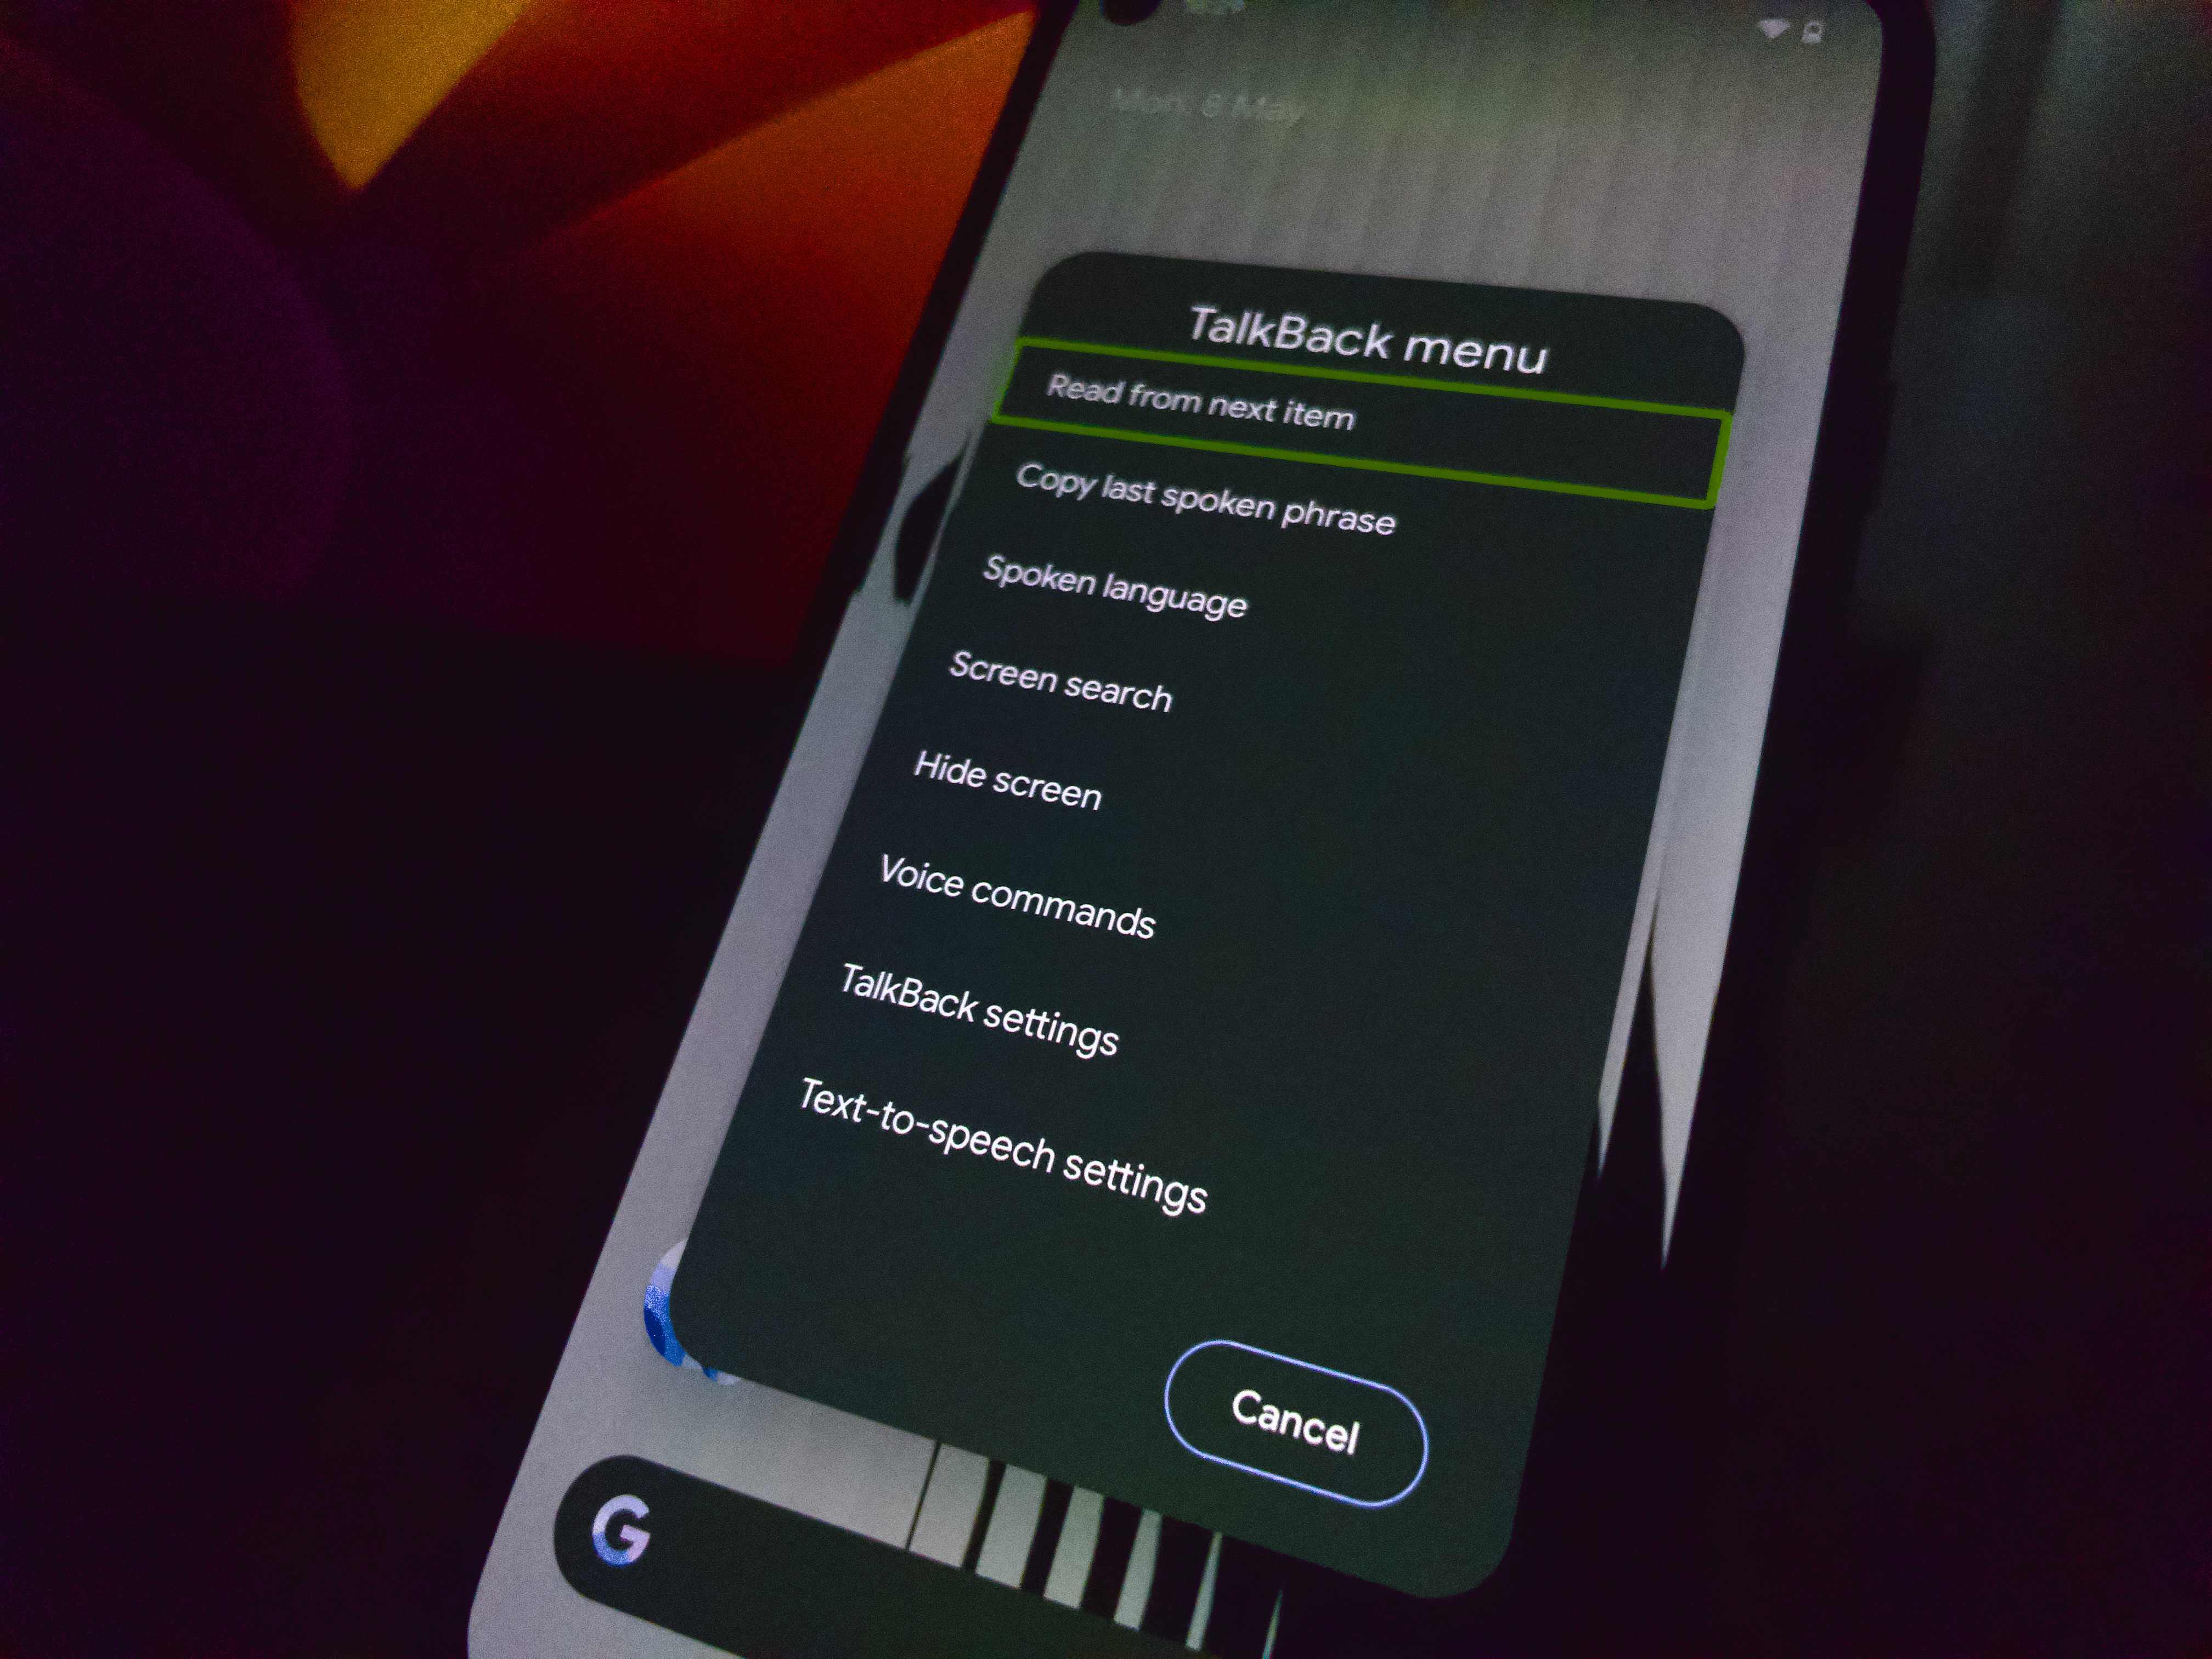
React Native provides all the necessary tools both officially and through community-supported projects to ship a fully functional cross-platform mobile app. In this article, I’ll be discussing some of the methods I’ve gathered from across the web on how devs provide a better accessibility experience within their React Native apps especially for people with partial or full visual impairments.
Current State of Accessibility in React Native
React native doesn’t have the same flexibility in terms of exposed API’s for accessibility as its platform native counterpart does, to do more you may have to write some native code to expose your desired functionality and then create a bridge to your JS code.
There are a couple of React Native component libraries both JS-only and those requiring native linking that do not expose the default accessibility methods/props that come bundled with React Native.
So What Do I Do?
A general rule of thumb for solving problems of inaccessible component libraries within the React Native ecosystem is, if you’re short on time; you can go ahead to patch the library in question to expose the desired accessibility functionality you’re missing, or, you can create a fork of the library with your changes and submit a PR.
I provide scenarios where you need to implement certain use cases but can’t seem to figure out how to approach it when providing screen reader functionality within your react native app.
Buttons and Text fields
For a text input with no content, Screen Reader will read the accessibility label along with the hint, role, and actions; to ensure that it also reads the content of an input along with the label as expected — use the below method.
<TextInput
   value={value}
   accessibilityLabel="LABEL"
   accessibilityHint="HINT"
   accessibilityRole="ROLE"
   accessibilityValue={ { 'text' : value } }
   accessibilityActions={[{name: 'activate', label: ''}]}
   //{...the rest of your Text Input Props}
/>
For buttons (Touchables or any component with an onPress event) make sure to add an onAccessibilityAction when you modify the accessibilityActions then feed the same function you’re calling within your onPress to the activate event for accessibilityActions.
<TouchableOpacity
   accessibilityLabel="LABEL"
   accessibilityHint="HINT"
   accessibilityRole="button"
   accessibilityActions={[{name: 'activate', label: ''}]}
   onAccessibilityAction={event => {
     if (event.nativeEvent.actionName === 'activate') {
       //...
     }
   }}
   //{...the rest of your Touchable Props}
>
 I'm a button
</TouchableOpacity>
Custom Components
You should add the following props along with the rest of the props for your components, preferably, assign all `accessibility-related` props to the topmost parent component within your composed custom component. The component would look like below
<WrappedComponent
   accessible={true}
   accessibilityLabel="LABEL"
   accessibilityHint="HINT"
   accessibilityRole="ROLE"
   accessibilityActions={[{name: 'activate', label: ''}]}
   //{...the rest of your custom props}
>
{/* children */}
</WrappedComponent>
Meanwhile, the component definition will look something like below
const WrappedComponent = ({ accessible, accessibilityLabel, accessibilityHint, accessibilityRole, accessibilityActions, children, ...otherProps }) => {
  //...
  return(
    <View
      accessible={accessible}
      accessibilityLabel={accessibilityLabel}
      accessibilityHint={accessibilityHint}
      accessibilityRole={accessibilityRole}
      accessibilityActions={accessibilityActions}
      >
        <Text>Custom Component</Text>
        {children}
    </View>
)}
Native Components
Most native components have quite good screen reader accessibility, however, sometimes some components might not work as you wish — in that case, you can use the AccessibilityInfo method to check if Screen Reader is enabled, then render a different component. Here’s how you would do that for example with the @react-native-community/datetimepicker component; the following code will display the TimePicker on Android differently.
// import AccessibilityInfo helper, and the time  picker component
import { useAccessibilityInfo } from '@react-native-community/hooks';
import { DateTimePickerAndroid } from '@react-native-community/datetimepicker';

// We'll use the AccessibilityInfo hook to check if screen reader is enabled or not
const { screenReaderEnabled } = useAccessibilityInfo();

...

// somewhere within your component declaration,we can now change the component based on Screen Reader status
const showTimepicker = () => {
  DateTimePickerAndroid.open({
    mode: 'time',
    display: screenReaderEnabled ? 'spinner' : 'clock',
    //...rest of your code comes here
  });
};

...
Loading, Error, Success States
Usually, SnackBars are used to notify users of the current state of a network request or user-driven action, you can also use the below method to improve the whole experience.
AccessibilityInfo.announceForAccessibility('STATE HERE');Extra Gotchas: Focus Order
Assistive technologies try to determine a logical accessibility order based on the placement and properties of the elements on the screen. In Left-to-Right languages, the order goes from top to bottom, from left to right. If this order is not optimal, you can override the accessibility order that assistive technologies follow.
React Native does not have explicit support for changing the focus order. React Native works by maintaining the focus order of the last active item when you navigate between Stack screens, so that means, when you goto a new screen — the Screen Reader doesn’t automatically change focus to the first element in the screen as dictated by LTR/RTL language setup.
To give an element priority for Screen Reader, there are a few options to use (please note that resetting focus order between Screens still isn’t easily achievable).
accessibilityLiveRegion (Android only)
(Android only) Use this when you want to announce components that dynamically change, official docs.
AccessibilityInfo.setAccessibilityFocus
This allows you to set the accessibility focus to an element on your screen docs. Code example below (please note that this has some open issues on the React Native Github Repo where it doesn’t seem to work in some cases hence why it’s called twice).
...

const headerElement = useRef();
React.useEffect(() => {
    // Setting focus to header
    if (headerElement && headerElement.current) {
      const reactTag = findNodeHandle(headerElement.current);
      if (reactTag) {
        AccessibilityInfo.setAccessibilityFocus(reactTag);
        AccessibilityInfo.setAccessibilityFocus(reactTag);
      }
    }
  }, []);

...

return(
    <Header
       ref={headerElement}
       accessibilityLabel="LABEL"
       accessibilityRole="header"
       accessible={true}
       importantForAccessibility="yes"
    >
      {/* ... */}
    </Header>
)}
More Reading
-
Creating Accessible React Native Apps by Scott Vinkle - Medium
-
When should we use `accessibilityRole` in React Native? - Stack Overflow
-
https://github.com/cds-snc/covid-alert-app/blob/main/src/shared/useAccessibilityAutoFocus.ts
-
https://github.com/GeekyAnts/NativeBase/blob/master/src/hooks/useScreenReaderEnabled.ts
-
https://ignitecookbook.com/docs/recipes/CreatingGreateExperienceForScreenReaders
The Non-Technical Founders survival guide
How to spot, avoid & recover from 7 start-up scuppering traps.
The Non-Technical Founders survival guide: How to spot, avoid & recover from 7 start-up scuppering traps.

